
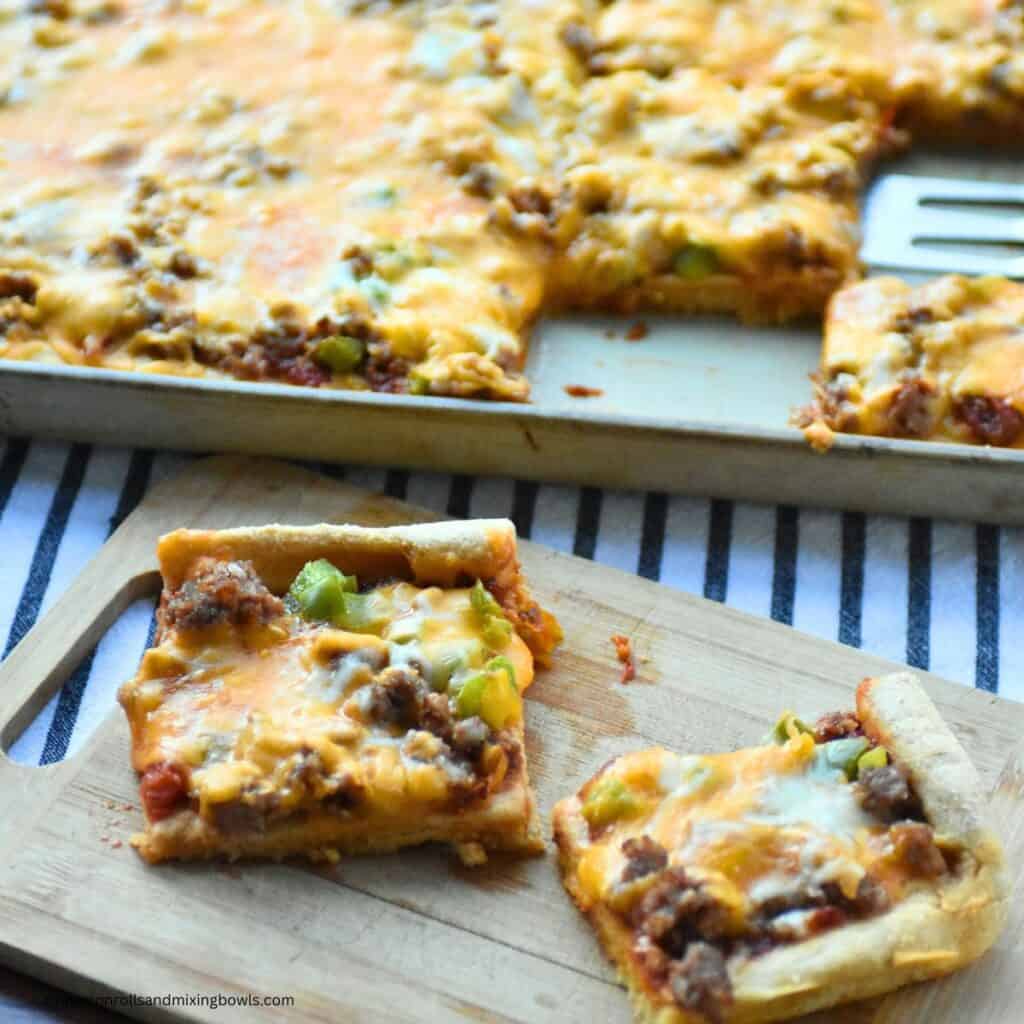
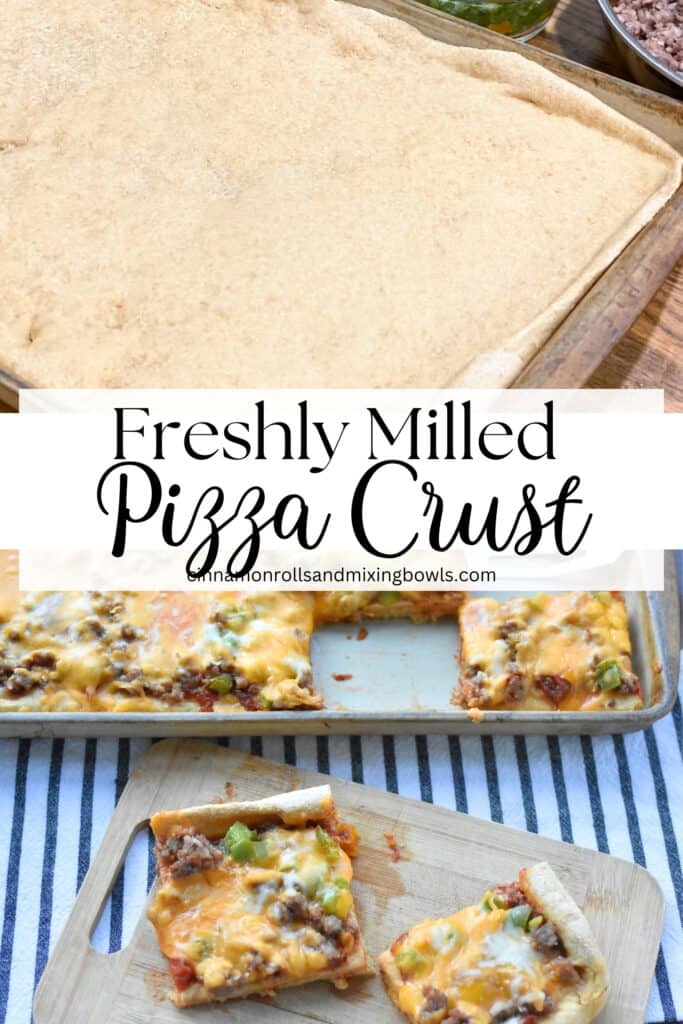
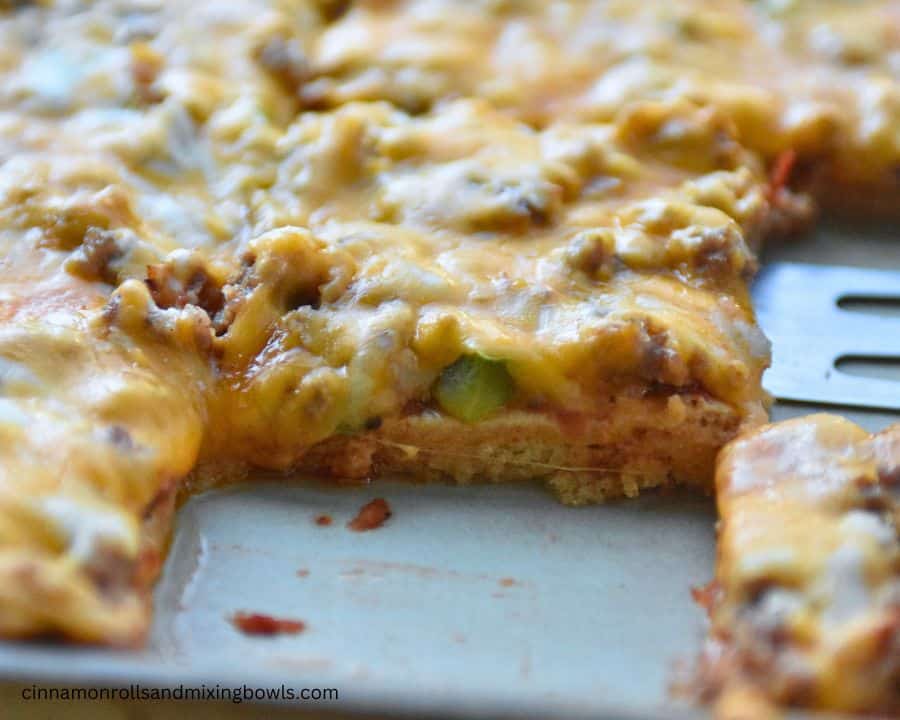
Easy Freshly Milled Kamut Pizza Crust
Nothing beats a slice of homemade pizza straight from the oven! A flavorful chewy crust and delicious sauce and toppings of choice! No need to order out when you can make easy freshly Milled Kamut pizza crust at home that is healthy for you!
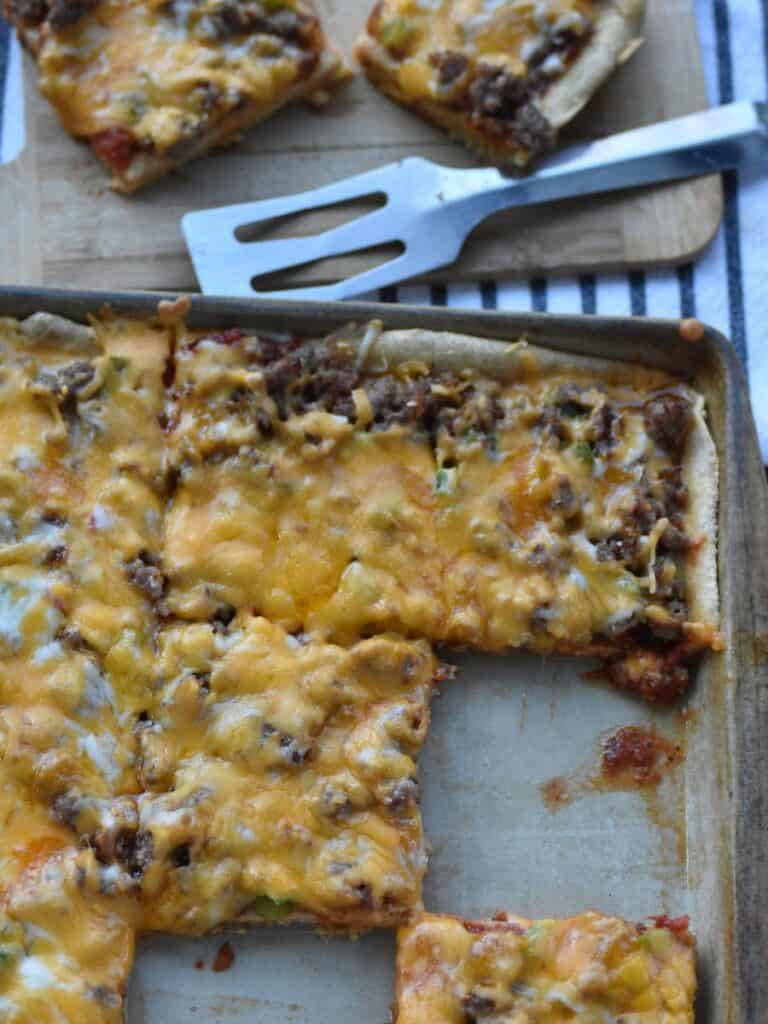
This easy recipe for freshly milled kamut pizza crust is a go-to staple in our home! It is easy to mix up, rise and bake and makes a perfect chewy crust for a delicious healthy pizza.
Whether it is a busy weeknight or a fun and relaxing Saturday night, freshly milled pizzas can be the perfect meal to make that doesn’t take too much time or energy out of your day!
Some of our other favorite supper ideas we like are healthy sloppy Joe’s, pan fried chicken and gravy, and skillet vegetable hash with sausage. These are all healthy, fuss-free and can be made in a large batch so we have leftovers for later in the week!
Why you should make this Freshly Milled Pizza Crust recipe
Healthy for you: Freshly milled Kamut flour is the star of the show! This pizza crust recipe has a chewy texture from the freshly milled grains and is very nutrient dense making this incredibly healthy.
Easy: Supper easy one bowl recipe! If you’re planning this for supper, then you should get this started mid afternoon to have it ready! (Rise times are dependent on temperature and preference!)
What is Kamut
Kamut is an ancient grain that has Egyptian origins and has not been processed or genetically altered. It may be more commonly heard of as khorasan wheat.
Kamut has a rich buttery taste with a natural sweetness and no unpleasant aftertaste.
Not only does the Kamut grain offer more nutrients and minerals then regular whole wheat flour, but it also has about 20-40% more protein than typical wheat breads, has a higher vitamin and mineral content and is more easily digested. When it is freshly milled, there are additional benefits and better taste available!
There are many kamut recipes available online or in cookbooks, but finding ones that are to be favorites to replace white flour recipes, can be challenging. This recipe is one that you can count on and that can become a new staple for you.
Why Freshly Milled Grains
The internet and the world around us is becoming more aware and interested in the benefits of grinding whole grains and using “fresh milled flour”, which is essentially grain kernels that are freshly ground. So grind your grain and bake with it right away!
Grinding your grain to use fresh is becoming a more common and heard of routine that’s being incorporated into baking.
To receive the full nutritional benefits of Kamut and whole grains, you have to mill the actual grain and use the flour fresh!
Think of fresh milled flour as being “complete” and “alive”, and store bought flour as “dead-flour”. When the grain is ground fresh, you are getting vital nutrients, vitamins and minerals that are sorely depleted in store-bought flour.
Supposedly, flour starts loosing its nutritional components as soon as THREE days after being ground! Wow! That says a lot about the benefits of freshly ground grain!
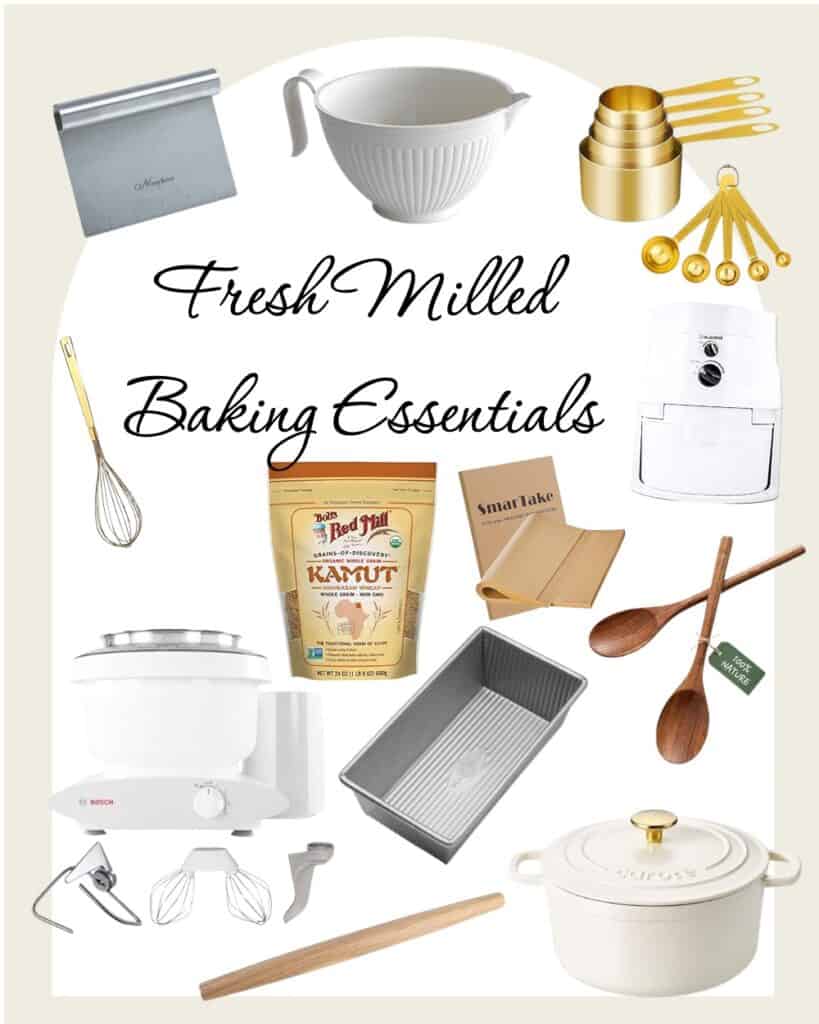
Check out my favorite tools for baking with fresh milled grains in the kitchen!
Check out my complete list of freshly milled Kamut recipes right here! Everything you need to get started baking healthier today!
Check out these popular fresh milled recipe!
- Kamut mini chocolate cake donuts
- Easy Kamut biscuits
- The best Kamut cinnamon rolls
- Kamut pumpkin pie cinnamon rolls
- Kamut pancakes
- Kamut walnut chocolate chip cookies
- Kamut lemon bars
- Kamut blueberry muffins
- Kamut pumpkin bars with cream cheese frosting
Pin this recipe to make later!
Equipment you need:
Mixing bowl
Measuring cups and spoons
Springform baking pan or glass 8×8″ baking pan.
Shop this post:
Tips and Tricks
Use oil not flour for handling the dough.
I either use a rolling pin and roll the dough out first on an oiled counter, then transfer to the pan, or use this roller and roll the dough directly in the pan.
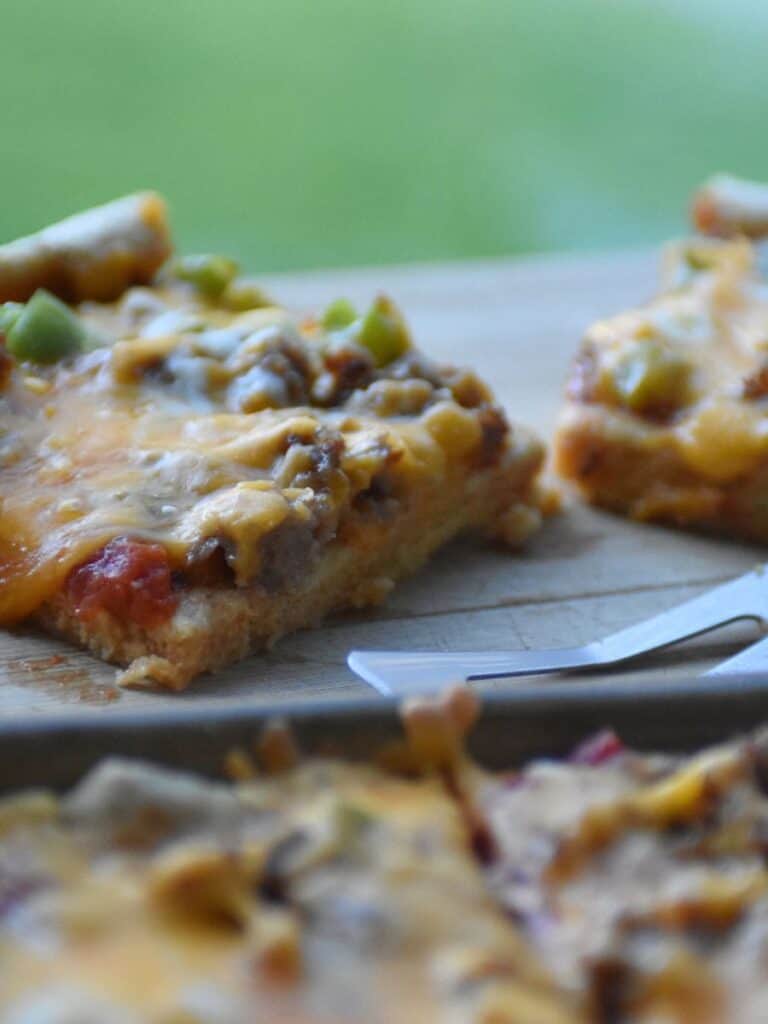
This recipe makes two thin crusts or one thicker crust. I personally prefer to make two thin crusts so we can stick one in the freezer for later (I par bake that one), or double the recipe to have enough for later. You can also do breadsticks with this recipe!
Recipe
5 cups Kamut flour, freshly ground
2 tsp sea salt
2 tsp yeast
2 cups warm water
2 T oil ( I like to use coconut oil or olive oil)
2 T honey
Directions
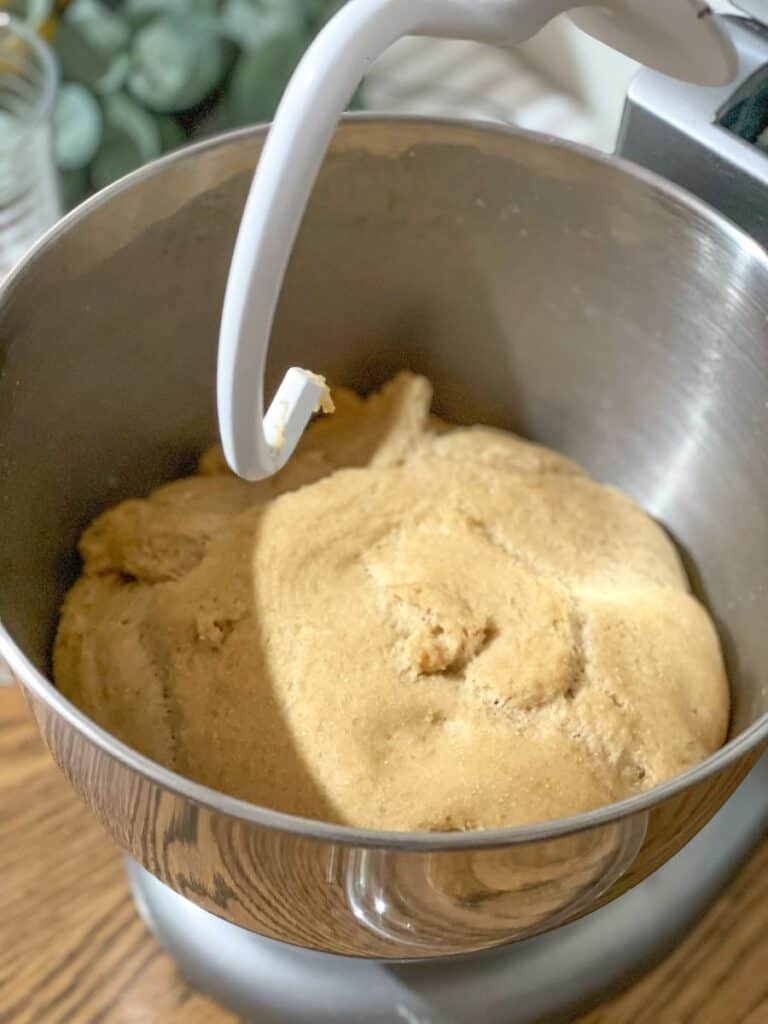
Mix all the ingredients in the bowl of a stand mixer. Or you can use a regular mixing bowl and do this by hand with lots of arm muscle.
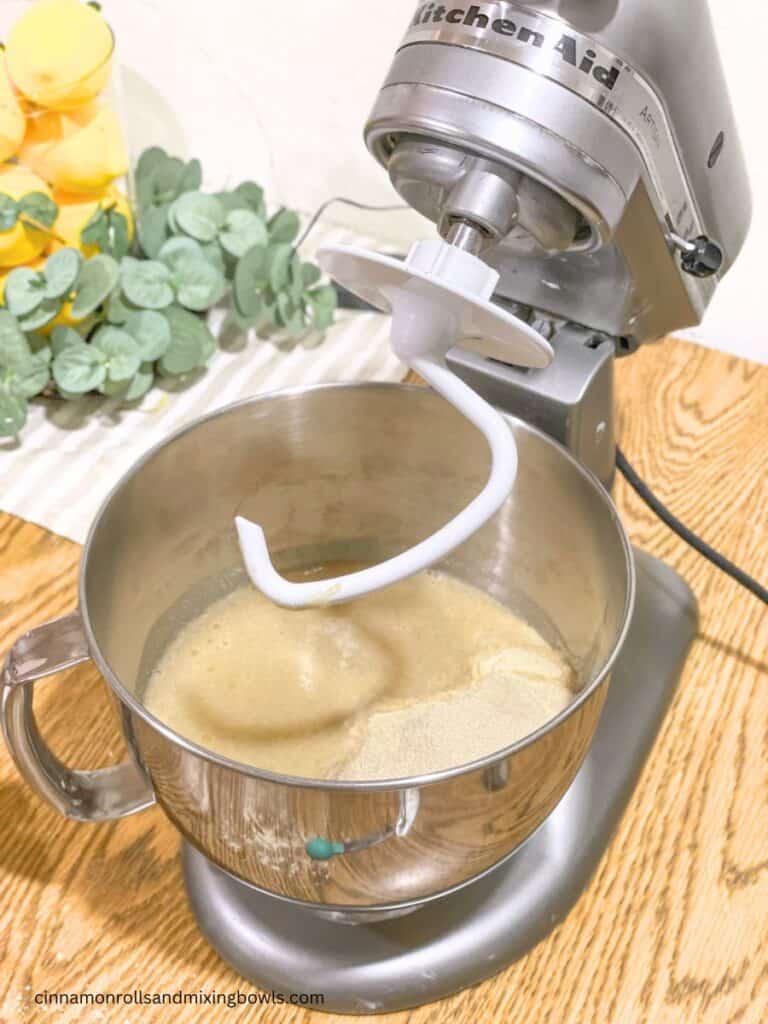
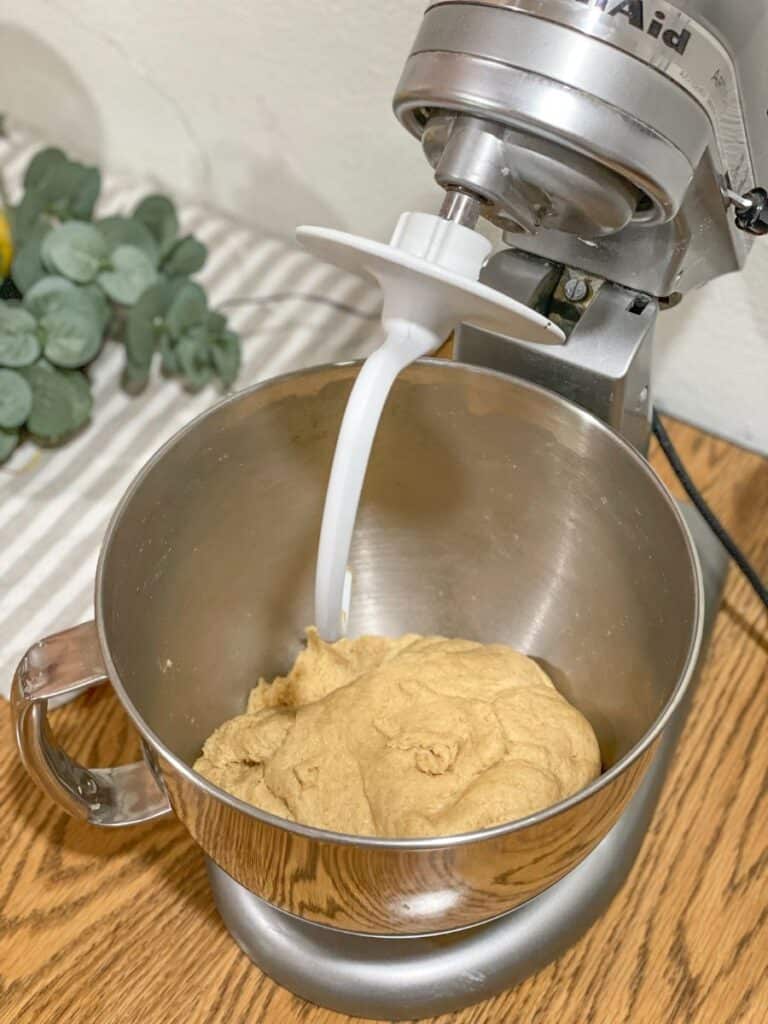
Once everything is incorporated, mix for about 3-5 minutes. Cover the dough and allow to rise for 30 minutes to 2 hours.
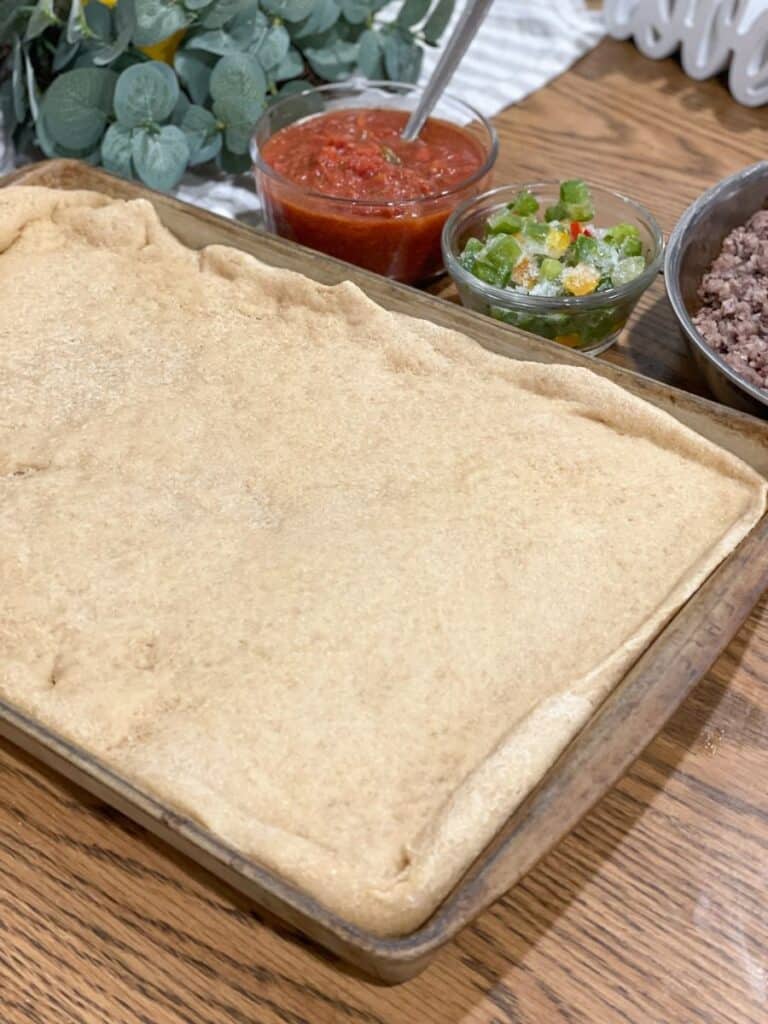
Prepare your baking sheet by greasing, then set on the side. Prepare your toppings if you are going to be making the pizza right away. Take the dough and either roll out on an oiled counter, or spread it out directly in the pan. I like to use this rolling tool to do it in the pan.
Set the pizza crust on the side to rise for 30 minutes or so.
Preheat oven to 350. Bake for 10 minutes. You can either par bake the crust to use later or add your toppings of choice and return to the oven for 15-20 minutes. Check for doneness towards the end, depending on the toppings you are doing.
Favorite Pizza Toppings:
Diced ham
Diced chicken
Sausage
Ground beef
Diced peppers and onions
Mushrooms
Pizza sauce
Ranch
BBQ sauce
Pineapple chunks
Crumbled bacon
Fresh diced tomatoes
Lots of cheese!
How to store leftover pizza
Transfer to a ziplock bag or container with a lid. You can keep in the fridge for up to a week or freeze for later!

Easy Freshly Milled Kamut Pizza Crust
Nothing beats a slice of homemade pizza straight from the oven! A flavorful chewy crust and delicious sauce and toppings of choice! No need to order out when you can make easy freshly Milled Kamut pizza crust at home that is healthy for you!
Ingredients
- 5 cups Kamut flour, freshly ground ( may need a little more or a little less)
- 2 tsp sea salt
- 2 tsp yeast
- 2 cups warm water
- 2 T oil ( I like to use coconut oil or olive oil)
- 2 T honey
Instructions
- Mix all the ingredients in the bowl of a stand mixer. Or you can use a regular mixing bowl and do this by hand with lots of arm muscle.
- Once everything is incorporated, mix for about 3-5 minutes. Cover the dough and allow to rise for 30 minutes to 2 hours.
- Prepare your baking sheets by greasing, then set on the side. Prepare your toppings if you are going to be making the pizza right away. Take the dough and divide in two if you want thin crust, or you can do one thicker crust. You can either roll out on an oiled counter, or spread it out directly in the pans. I like to use this rolling tool to do it in the pan.
- Set the pizza crust on the side to rise for 30 minutes or so.
- Preheat oven to 350. Bake for 10 minutes. You can either par bake the crust to use later or add your toppings of choice and return to the oven for 15-20 minutes. Check for doneness towards the end, depending on the toppings you are doing.
Notes
Use oil not flour for handling the dough. I either use a rolling pin and roll the dough out first on an oiled counter, then transfer to the pan, or use this roller and roll the dough directly in the pan. This recipe makes two thin crusts or one thicker crust. I personally prefer to make two thin crusts so we can stick one in the freezer for later (I par bake that one), or double the recipe to have enough for later. You can also do breadsticks with this recipe!
A little about me!
Hi! I’m Rebecca, wife and mother and I love homemaking and cooking on a daily basis.
Baking healthy desserts and cooking nutritious filled foods is a passion that I have and that is reflected in the recipes I post here!
Read more about me here.
Be sure to sign up to my emails for new recipe alerts, homemaking encouragement and to be notified of freebies and other fun things!
Happy baking!


