
Freshly Milled Kamut Baked Chocolate Donuts
The delicious texture of these freshly milled Kamut baked chocolate donuts is a satisfying combination between a traditional donut and that of a rich chocolate cake!

These easy mini Kamut chocolate cake donuts are not like traditional donuts that are fried, and neither are they baked in the oven. This recipe uses one of those fancy electric mini donut maker! (Instructions for a donut pan to bake them in the oven are also included).
Don’t be intimidated by the idea of using an electric donut maker though! It is so easy! Just like a waffle maker.
Frosting these baked donuts is totally optional. If you are looking for more of a dessert type donut that is sweeter, then frosting them is a great option!
Since these are not a very sweet donut it makes for a great snack that is not super sugary or stuffed with artificial ingredients or sugars.
These are especially great for toddlers! They do not crumble easily and they hold their shape well, so they are very toddler friendly and easy for them to hold in their hands.
This donut recipe does not include hot oil or a donut cutter. (Cheers!)
Why you should make these Freshly Milled Kamut chocolate cake donuts
Kamut chocolate cake donuts are made with all simple ingredients. If you have the kamut flour on hand then you are all ready to start cooking!
Healthy for you: Unlike most store bought cake donuts, or even recipes that you will find online or in cookbooks, these easy Kamut chocolate cake donuts do not contain boxed mixes, refined sugars or white flour. The Kamut grain is also healthy for you, since it has not been genetically processed or altered. Kamut grain is also easier to digest then whole wheat.
Full of flavor: The chocolate flavor is bursting out of these donuts; rich, decadent and satisfying!
Easy to make: Since these donuts do not require rolling out, rising and frying, they are super simple in comparison!
Why Freshly Milled Grains
The internet and the world around us is becoming more aware and interested in the benefits of grinding whole grains and using “fresh milled flour”, which is essentially grain kernels that are freshly ground. So grind your grain and bake with it right away!
Grinding your grain to use fresh is becoming a more common and heard of routine that’s being incorporated into baking.
To receive the full nutritional benefits of Kamut and whole grains, you have to mill the actual grain and use the flour fresh!
Think of fresh milled flour as being complete and “alive”, and store bought flour as “dead-flour”. When the grain is ground fresh, you are getting vital nutrients, vitamins and minerals that are sorely depleted in store-bought flour.
How do you make these easy Kamut chocolate cake donuts?
These donuts are not a yeast donut dough to fry in hot oil, rather they are made in an electric mini donut maker. A donut pan, baked in the oven, would also work.
Personally, I have found the best results to the real cake donut type at the grocery store, by using an electric donut maker. Firm, cake-y and tender, all at the same time! Mmmmmm! Almost like those tempting donut holes you see packaged up on display when you walk past the bakery and deli at the grocery store!
What kind of flour do these donuts use?
This recipe for Kamut chocolate cake donuts specfically calls for Kamut flour, but substitiuting with whole wheat flour is a suitabe option. Sometimes when I bake with ancient grains I will repalce some of the Kamut flour with regular all purpose flour, depending on who I will be serving the food to, or in your case, how accustomed your family might be to healthier flour options, like Kamut.
Serving ideas:
If you are hosting a Valentine’s Day party or Birthday party then these would be a fun idea to add to your menu.
They are also great for anniversary or bridal shower celebrations.
Our favorite ways to serve these are a quick and healthy snack or dessert on a weeknight. They are perfect for my husbands lunch, and absolutely the best for toddler snacks as mentioned previously.
No big sugar overload here since these are a mini donut.
And of course, one of the best times to enjoy one of these is a while they are on the cooling rack. A homemade warm donut is so satisfying!
What is in these healthy donuts?
- Kamut flour
- Unrefined sugar
- Unsweetened cocoa powder
- Baking powder
- Salt
- Eggs
- Milk of choice (regular milk or a non-dairy milk alternative are both fine. I used almond milk).
- Melted butter or coconut oil
- Vanilla extract or flavoring
- optional glaze ingredients: chocolate chips (semi sweet are best), butter and corn syrup
Equipment needed
Recipe for easy Kamut chocolate cake donuts
Dry ingredients:
1 1/2 cups Kamut flour
2/3 cup plus 1 tablespoon unrefined sugar
1/3 cup cocoa powder
1 tsp baking powder
1/8 tsp salt
Liquid ingredients:
2 eggs
1/2 cup milk or more as needed (regular milk or a non dairy alternative are both fine. I used almond milk).
1 tsp vanilla extract or flavoring
2 T melted butter or coconut oil
Chocolate glaze: (optional)
1 cup chocolate chips, melted
3 T butter
1 T corn syrup
Note on the corn syrup: For those that would prefer to omit the corn syrup, that is ok. The purpose of the corn syrup is to make the frosting/glaze easier to dip the donuts into, and to give a shiny appearance to the frosted donuts.
Toppings:
Sprinkles of choice (depending on occasion, of course)
Dark chocolate shavings (my personal favorite!)
Milk chocolate shavings
This makes a generous 2 dozen batch of mini donuts that are super yummy and healthy for you!

Directions how to make easy Kamut chocolate cake donuts
- Mix together the liquid ingredients in a mixing bowl. I like to use my large glass pyrex measuring cup.
- In a separate bowl whisk the dry ingredients.
- Combine the liquid ingredients and flour mixture together. Stir to combine. The batter will not be like a yeast donut dough since these are cake donuts. The batter will be quite thick, much thicker then regular cake batter.
- Preheat the donut “machine”. When it is heated and ready, open the lid and spray some nonstick cooking spray on the inside bottom and top.
- Using two spoons, put a little bit of dough into each donut form. I usually do about a heaping tablespoon in each. The dough should be about level across the top in each donut hole. A little bit over is ok but if it is too much then the dough could leak out on the sides and the donut shapes won’t bake nicely an might be deformed.
- Put the lid down and set the timer for about 3 minutes. 3.5 minutes is ideal. 4 minutes or longer is too long, they will turn out dry.
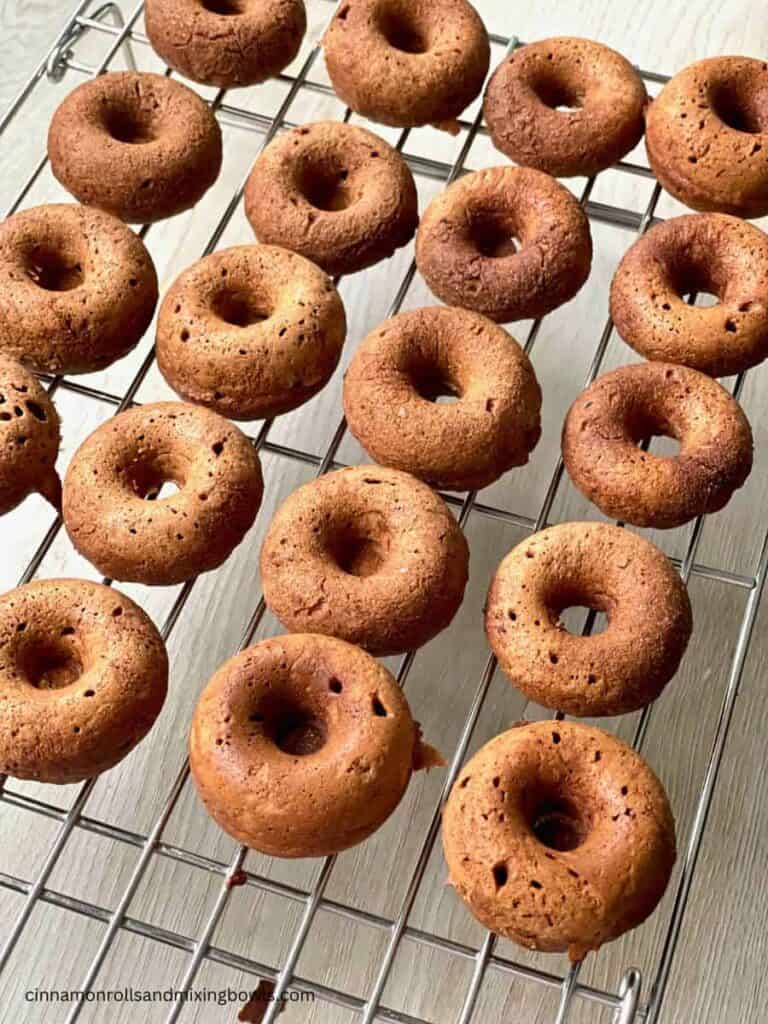
- Remove carefully with a fork. Your donut machine might have come with a special two-prong stick/fork like thing. This is handy for lifting the donuts out. Place on a wire cooling rack.
- Once cooled to room temperature, frost/glaze if desired.
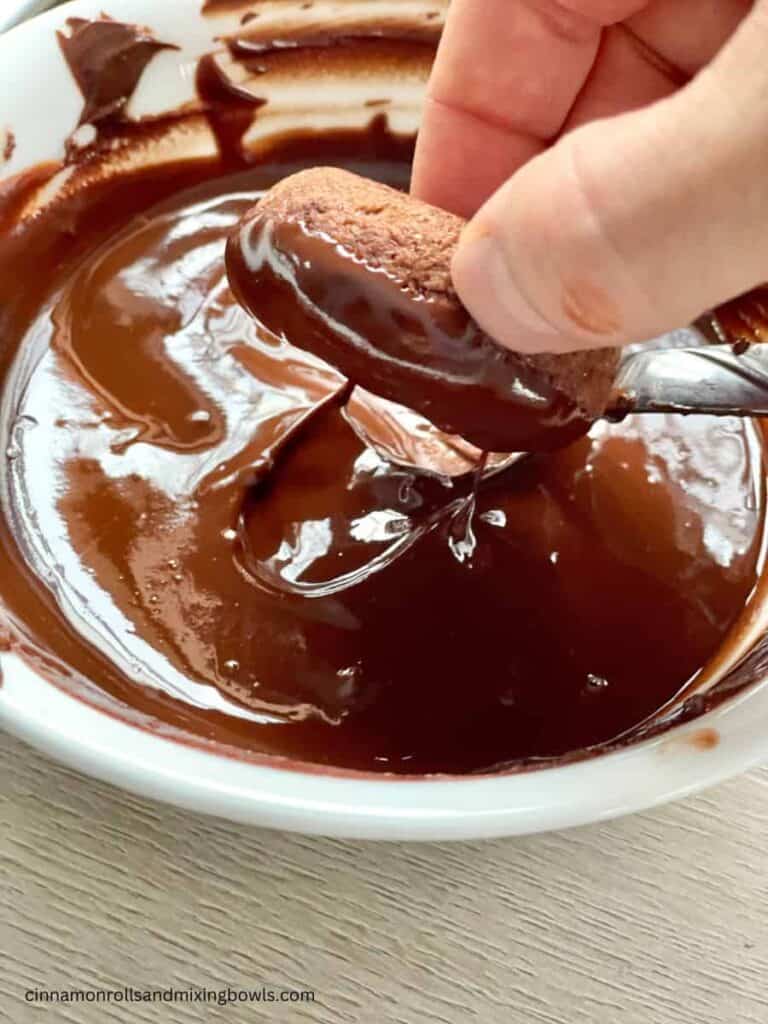
- For the frosting, in a heat safe small bowl or glass liquid measuring cup, melt the chocolate chips either in the microwave or using a double boiler method on the stove top. If using the microwave, then heat for one minute, remove and stir. Place back in the microwave and continue cooking for 20 second intervals stirring after each time until the chocolate chips are fully melted. Be careful though, you don’t want to over heat or the chocolate will become an ugly consistency that will not work for glazing the donuts. Add the butter and stir. Add the corn syrup and stir till everything is a smooth mixture. You will need to use the glaze right away!
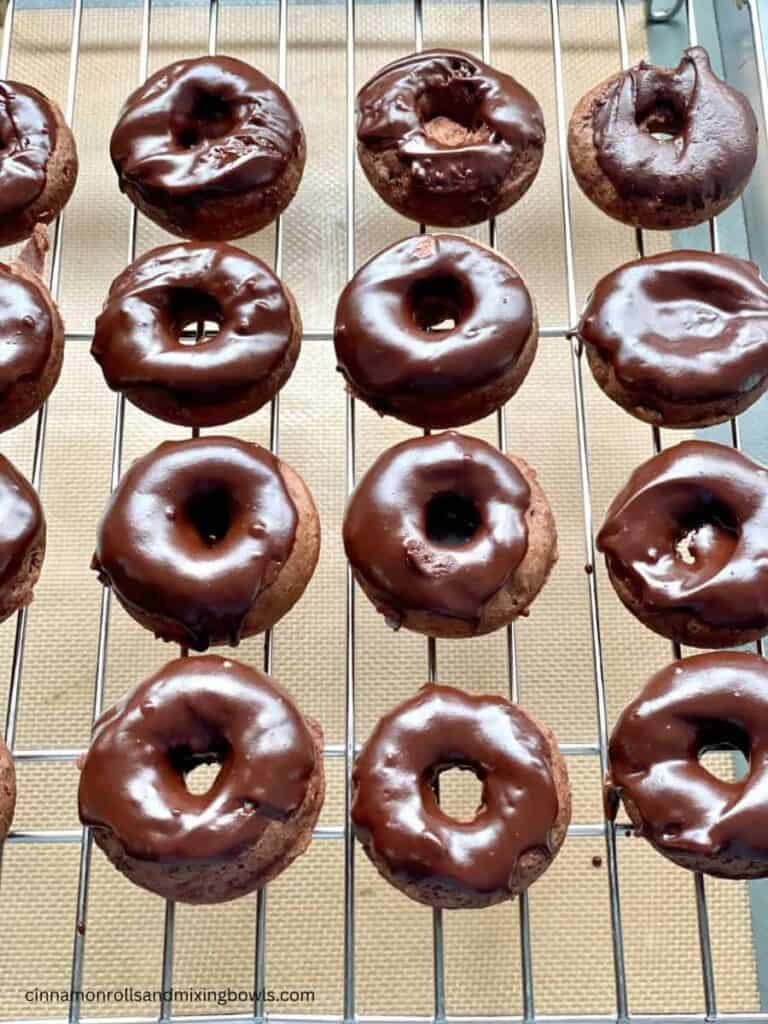
- Dip the donut into the glaze and return to the cooling rack. Make sure there is a pan, parchment or wax paper underneath. Something to catch any dripping glaze. Sprinkle with sprinkles or chocolate shavings on top if desired.
- Store in an airtight container.
Instructions for alternatively using a Donut Pan in the oven
Place batter in a gallon zip lock bag and cut a small hole in one of the bottom corners. This will allow you to pour the patter into the donut pan.
Lightly grease donut pan of choice.
Carefully “pipe” donut batter into the donut pan.
Bake for 15-17 mins. Let donuts sit 5 mins before dumping them out.
Additional F&Q-
Can you use almond flour in these cake donuts?
Do your research on converting a recipe to almond flour. I have not personally made this recipe with flour substitiutuins like gluten free flour, oat flour, nut flours or other.
Can you make these donuts dairy free?
Yes you certainly can! Non dairy milk alternatives like coconut milk, soy milk, cashew milk and more can be substituted for the dairy milk. I used almond milk when I made this recipe!
Additional Kamut flour recipes you would enjoy!
- Easy Kamut biscuits
- The best Kamut cinnamon rolls
- Kamut pumpkin pie cinnamon rolls
- Kamut pancakes
- Kamut walnut chocolate chip cookies
- Kamut lemon bars
- Kamut blueberry muffins
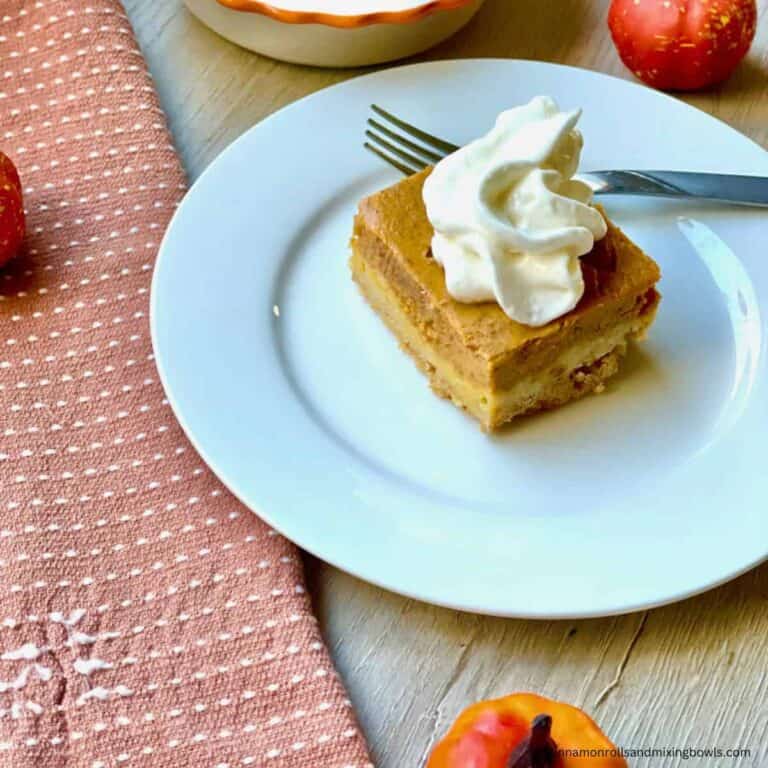
- Kamut pumpkin bars with cream cheese frosting
Shop this post!

Large glass Pyrex measuring cup
Check out this list of other Freshly Milled Kamut recipes!

Freshly Milled Kamut Baked Chocolate Donuts
The delicious texture of these mini Kamut chocolate cake donuts is a satisfying mixture between a traditional donut and that of a rich chocolate cake!
Ingredients
- Dry ingredients
- 1 1/2 cups Kamut flour
- 2/3 cup plus 1 tablespoon unrefined sugar
- 1/3 cup cocoa powder
- 1 tsp baking powder
- 1/8 tsp salt
- Liquid ingredients
- 2 eggs
- 1/2 cup milk (or more as needed) (regular milk or a non dairy alternative are both fine. I used almond milk).
- 1 tsp vanilla extract or flavoring
- 2 T melted butter or coconut oil
- Chocolate frosting/glaze
- 1 cup chocolate chips, melted
- 3 T butter
- 1 T corn syrup
- Toppings: Sprinkles, chocolate shavings
Instructions
- Mix together the liquid ingredients in a mixing bowl. I like to use my large glass pyrex measuring cup.
- In a separate bowl whisk the dry ingredients.
- Combine the liquid ingredients and flour mixture together. Stir to combine. The batter will not be like a yeast donut dough since these are cake donuts. The batter will be quite thick, much thicker then regular cake batter. You can add an additional few tablespoons of milk if necessary to achieve mixable consistency.
- Preheat the donut "machine". When it is heated and ready, open the lid and spray some nonstick cooking spray on the inside bottom and top. (Instructions for using a donut pan in the oven are below).
- Using two spoons, put a little bit of dough into each donut form. I usually do about a heaping tablespoon in each. The dough should be about level across the top in each donut hole. A little bit over is ok but if it is too much then the dough could leak out on the sides and the donut shapes won't bake nicely and might be deformed.
- Put the lid down and set the timer for about 3 minutes. 3.5 minutes is ideal. 4 minutes or longer is too long, they will turn out dry.
- Remove carefully with a fork. Your donut machine might have come with a special two-prong stick/fork like thing. This is handy for lifting the donuts out. Place on a wire cooling rack.
- Once cooled to room temperature, frost/glaze if desired.
- For the frosting, in a heat safe small bowl or glass liquid measuring cup, melt the chocolate chips either in the microwave or using a double boiler method on the stove top. If using the microwave, then heat for one minute, remove and stir. Place back in the microwave and continue cooking for 20 second intervals stirring after each time until the chocolate chips are fully melted. Be careful though, you don't want to over heat or the chocolate will become an ugly consistency that will not work for glazing the donuts. Add the butter and stir. Add the corn syrup and stir till everything is a smooth mixture. You will need to use the glaze right away!
- Dip the donut into the glaze and return to the cooling rack. Make sure there is a pan or parchment or wax paper underneath. Something to catch any dripping glaze. Sprinkle with sprinkles or chocolate shavings on top if desired.
- Store in an airtight container.
Instructions for using a donut pan in the oven:
Place batter in a gallon zip lock bag and cut a small hole in one of the bottom corners. This will allow you to pour the patter into the donut pan. Lightly grease donut pan of choice. Carefully "pipe" donut batter into the donut pan. Bake for 15-17 mins. Let donuts sit 5 mins before dumping them out
Notes
For those who prefer to skip using the corn syrup, that is fine. The purpose of the corn syrup helps to have an easier consisitecy to handl and dip the donuts in and to provide a more smooth and shiny appearnace.
Pin this recipe for later!

A little about me!
Hi! I’m Rebecca, wife and mother and I love homemaking and cooking on a daily basis.
Baking healthy desserts and cooking nutritious filled foods is a passion that I have and that is reflected in the recipes I post here!
Read more about me here.
Be sure to sign up to my emails for new recipe alerts, homemaking encouragement and to be notified of freebies and other fun things!
Happy baking!



It would be helpful to also have the instructions for using a donut pan and oven, not just the mini donut maker.
Great tip! I will add the instructions into the post! Thanks for sharing and glad they were enjoyed!
Okay, luckily I have made Kamut donuts before, baked in the oven. If you don’t have a mini donut maker this is what I would recommend:
Preheat oven to 350 F
When making the donuts I had to use a lot more milk than the recipe called for. Instead in 1/3 C I ended up using 1 1/4 C, might need more or less depending on elevation.
Place batter in a gallon zip lock bag and cut a small hole in one of the bottom corners, this will allow you to pour the patter into the donut pan.
Bake for 15-17 mins. Let donuts sit 5 mins before dumping them out.
Hope this helps anyone who needs it!
Other than that they were yummy and my toddler and preschooler loved them!