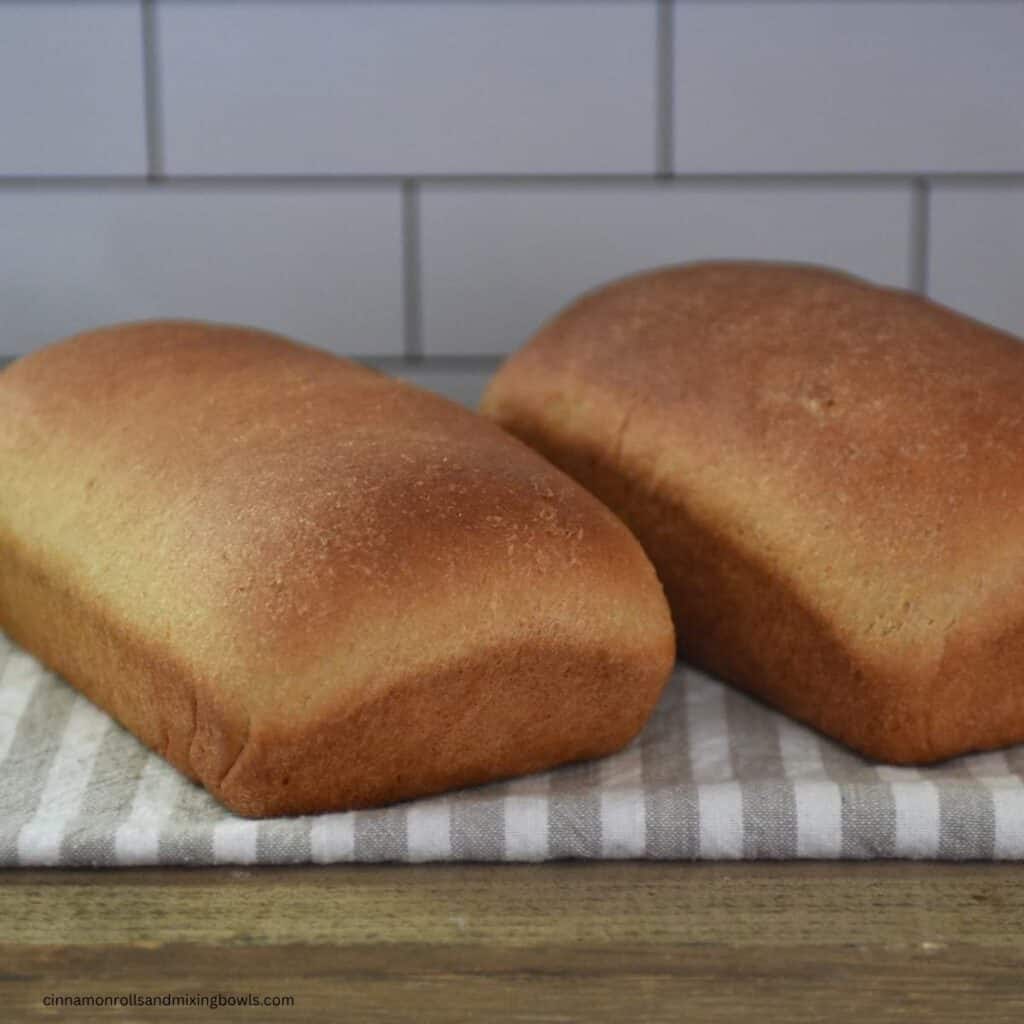
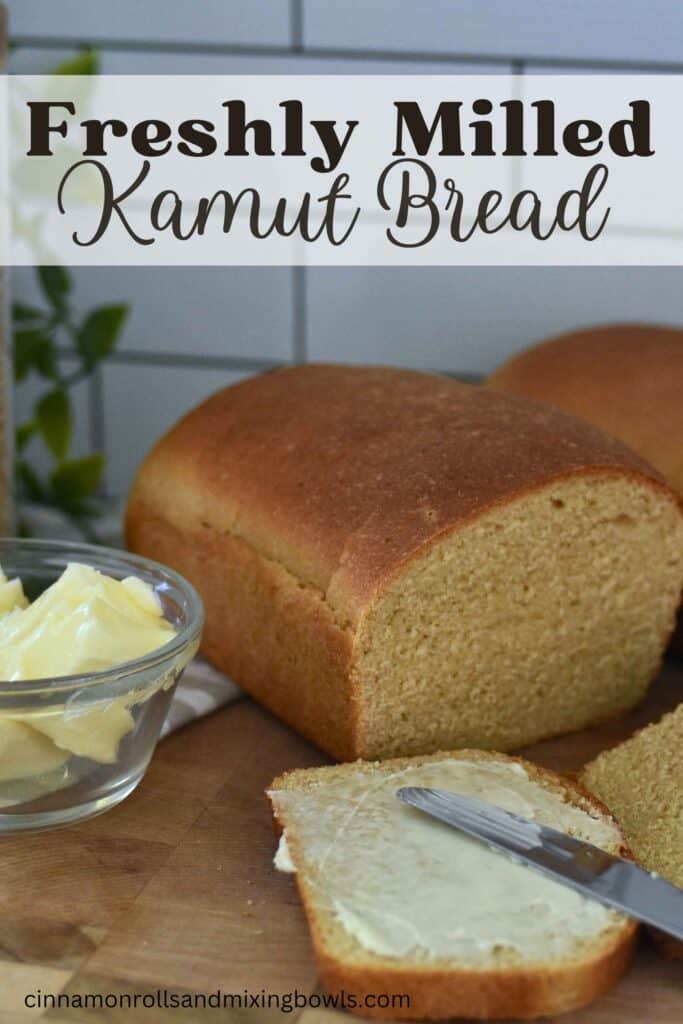
Easy Freshly Milled Kamut Bread
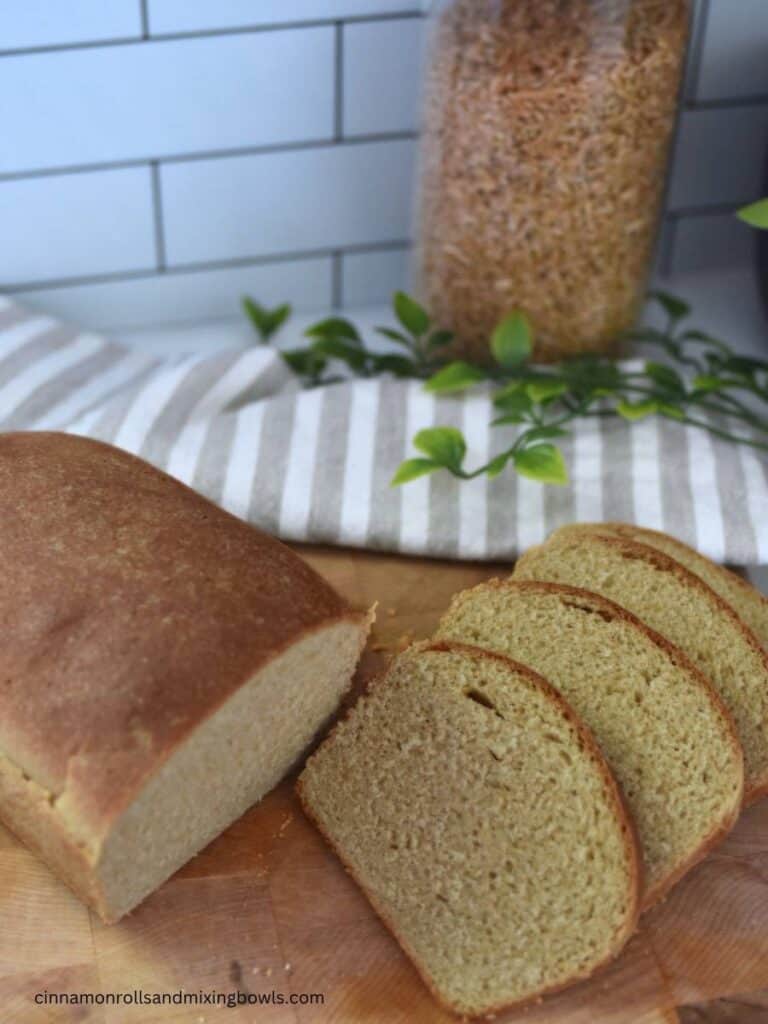
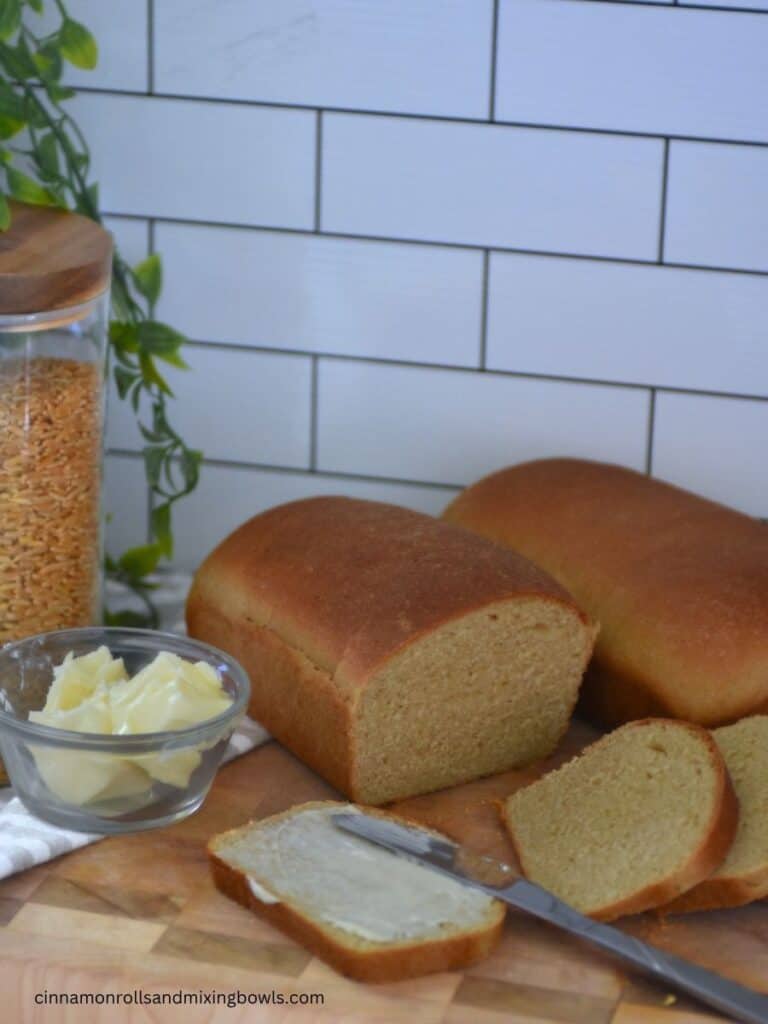
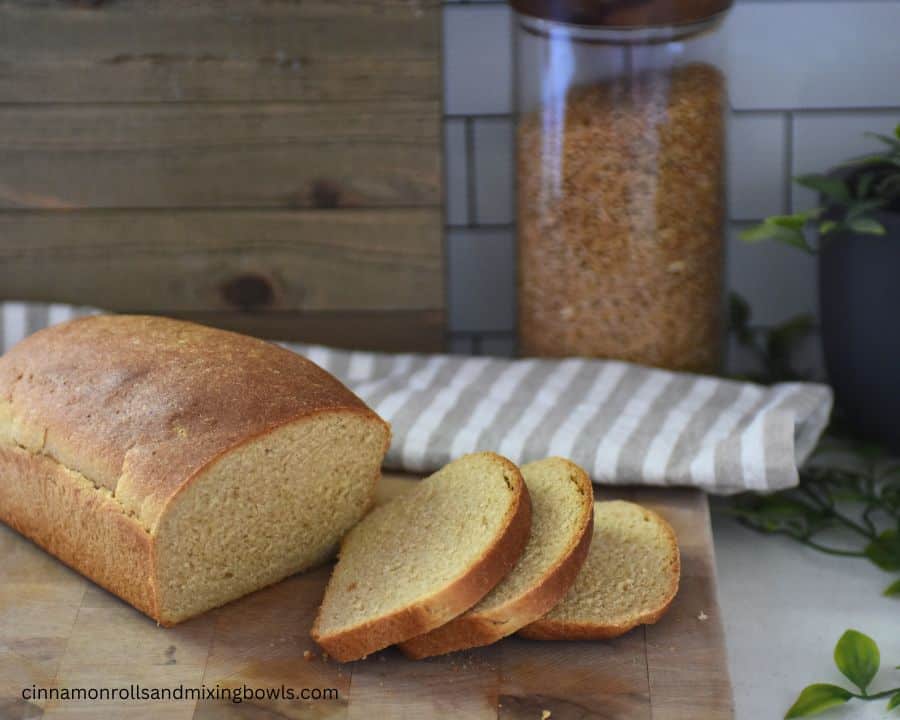
This easy Freshly Milled Kamut bread is an ancient grain that makes a delicious basic sandwich bread! It is has a soft and tender crumb, a mild pleasant flavor, and has compounded nutrients and vitamins essential for our bodies!
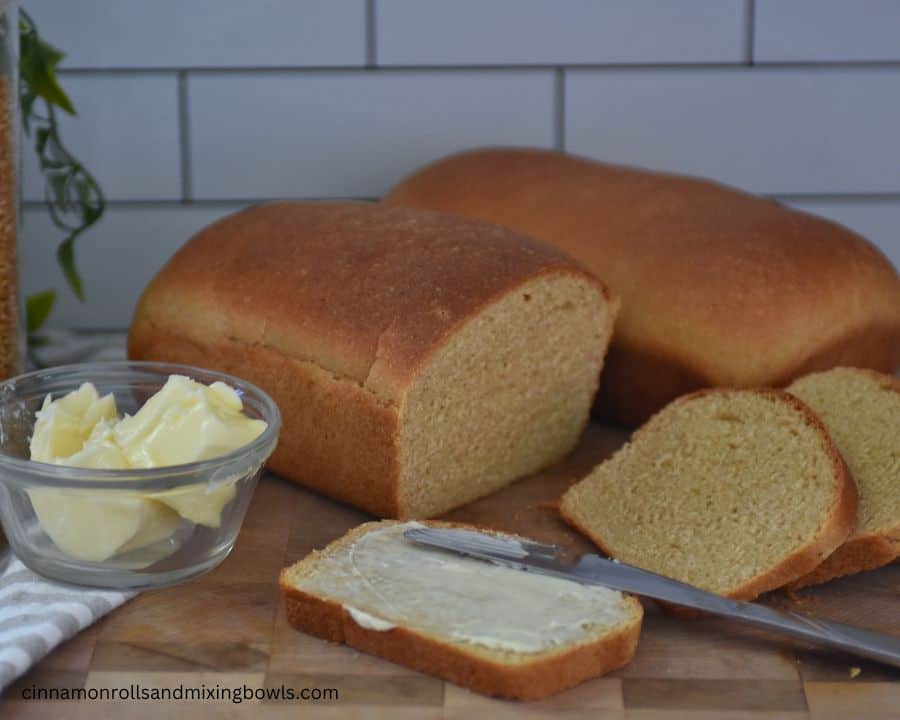
This freshly milled bread is something that our family looks forward to and we keep on hand regularly. It is versatile and perfect for many different things including sandwiches, toast for breakfast, hot ham and cheese, French toast and more!
While many ancient grain bread recipes require lots of special ingredients, steps involved, sprouting grain and more, this recipe is much easier to mix up in just a few hours and doesn’t require vital wheat gluten or lecithin.
Basic Kamut sandwich bread is light and fluffy, mild in flavor and irritable delicious! Perfect alongside your morning cup of coffee!
If you are might not be familiar with this more uncommon grain and are wondering what is Kamut exactly?
What is Kamut?
Kamut is an ancient grain that has Egyptian origins and has not been processed or genetically altered. It may be more commonly heard of as khorasan wheat.
My family was introduced to kamut very early in our homesteading/grinding whole grain journey and it immediately became the one and only replacement for all purpose flour for us.
Kamut has a rich buttery taste with a natural sweetness and no unpleasant aftertaste. Bread baked with Kamut, possesses a fine, cake like texture and has a very light amber color.
Not only does the Kamut grain offer more nutrients and minerals then regular whole wheat flour, but it also has about 20-40% more protein than typical wheat breads, has a higher vitamin and mineral content and is more easily digested. When it is freshly milled, there are additional benefits and better taste available!
There are many kamut recipes available online or in cookbooks, but finding ones that are to be favorites to replace white flour recipes, can be challenging. This recipe is one that you can count on and that can become a new staple for you.
Economically, right now kamut is more difficult to find available for purchase. I have been getting mine here.
Why you should make Kamut bread
Kamut bread is highly favored for its naturally sweet yet mild flavor .
Although the Kamut grain contains gluten, many wheat sensitive people can tolerate Kamut as an alternative to regular wheat, because of the lower gluten content.
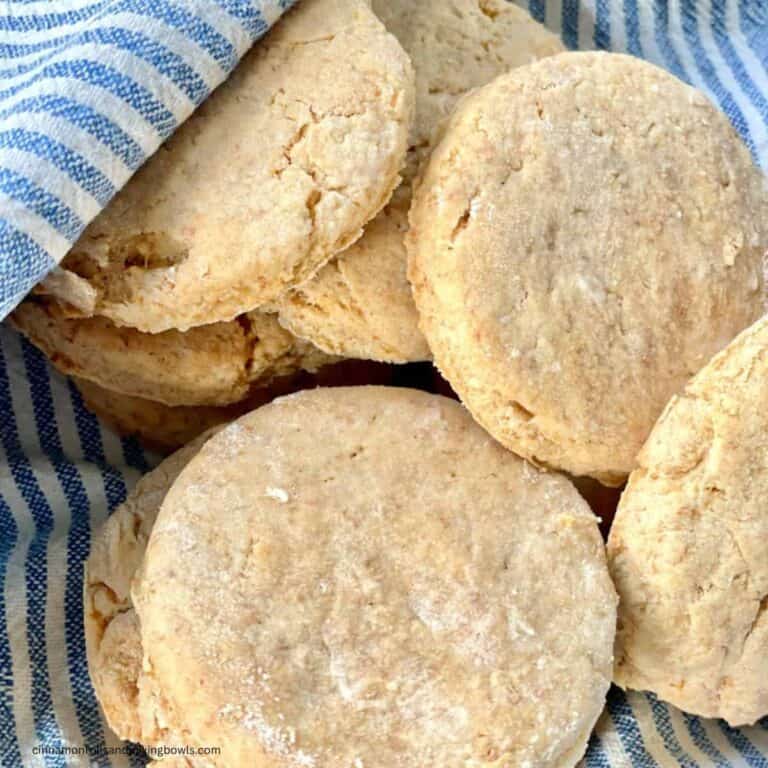
Kamut bread can be toasted, made into sandwiches, and used for dips. Other baked goods like cookies, muffins, rolls and cakes are delicious and flavorful when baked with Kamut.
Kamut has become accepted by children, as they love the natural sweetness and texture of this grain.
Not only does it taste great – it is very good for you!
Fun facts on Kamut:
- It is always organic
- It has never been genetically altered
- Has Egyptian origins
- Has a naturally sweet taste
- The kernels are amber colored
- It has a naturally buttery taste and slightly nutty texture
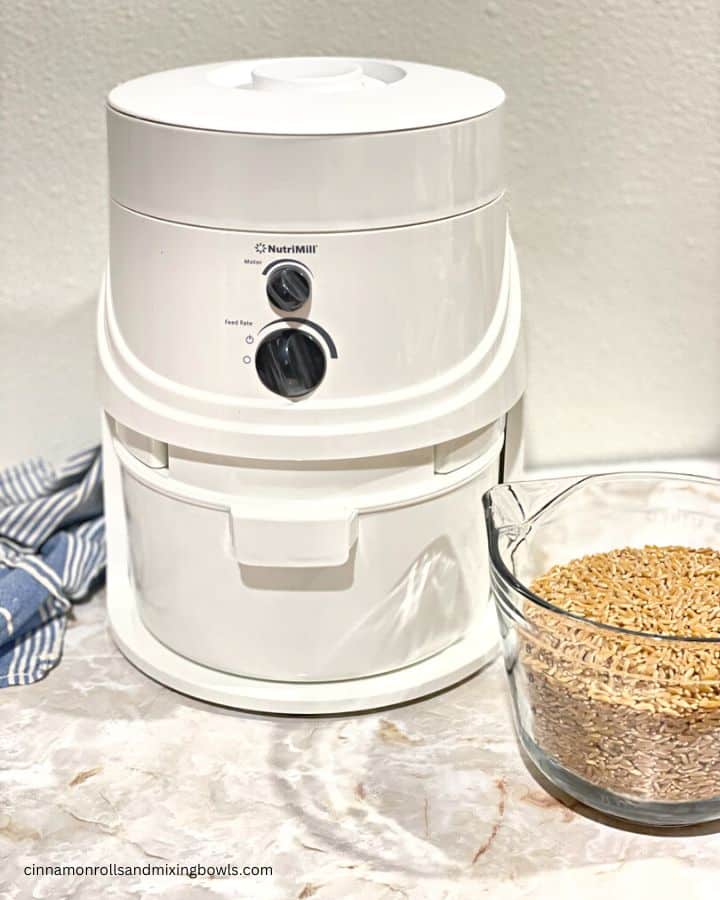
Why Freshly Milled Grain?
The internet and the world around us is becoming more aware and interested in the benefits of grinding whole grains and using “fresh milled flour”, which is essentially grain kernels that are freshly ground. So grind your grain and bake with it right away!
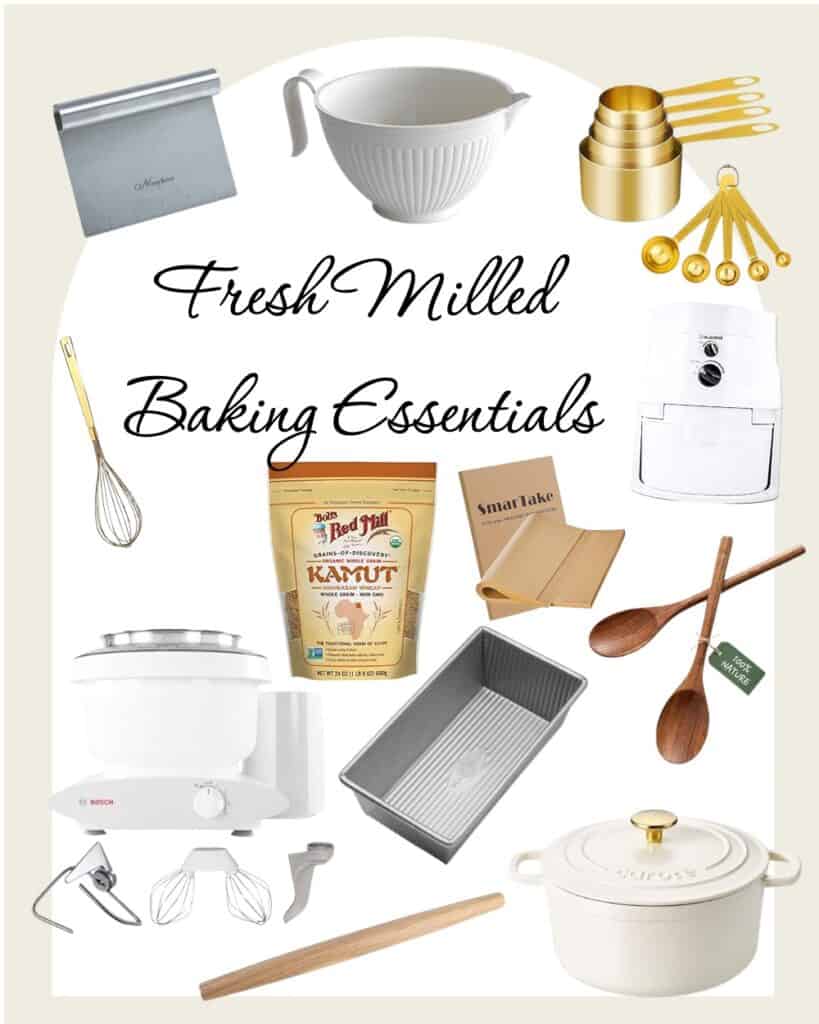
Check out my favorite tools for baking with fresh milled grains in the kitchen!
Supposedly, flour starts loosing its nutritional components as soon as THREE days after being ground! Wow! That says a lot about the benefits of freshly ground grain!
Check out my complete list of freshly milled Kamut recipes right here! Everything you need to get started baking healthier today!
Pin this recipe to make later!
Do you have to use freshly milled Kamut flour in this recipe?
No, you do not. You can use any type of whole-grain flour that you wish! Our favorite is Kamut and we usually grind it fresh if possible.
What is the lemon juice for in this recipe?
Believe it or not, the lemon juice helps to soften the bran and strengthen the dough. (Freshly milled grains have a higher bran and fibre content then store bought flour).
Pro tips for best results:
- Make sure you let the mixture rest after the first mixing. This is so crucial with freshly milled flours!
- Don’t add too much flour! Whole grains like Kamut, are more dense and can make a dried out product if too much is used.
- If needed, use oil/grease and not flour to handle the dough. (Using flour just adds to the potential of making the bread too dry).
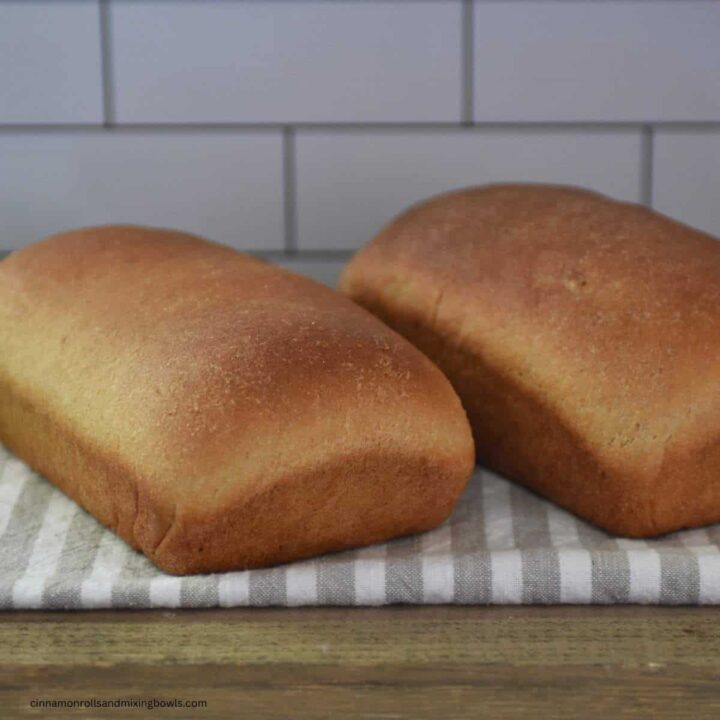
This recipe makes 2 loaves and for the amount of dough, I like to use two 8″ pans.
Shop my Freshly Milled Bread Baking Favorites
This post contains affiliate links. This means, that as an amazon affiliate, if you make a purchase, I may receive a small commission at no extra cost to you.
The Recipe for Freshly Milled Kamut Bread
1 ½ cups warm water
⅓ cup coconut oil (or oil of choice)
⅓ cup honey
2 tsp lemon juice
2 tsp sea salt
5 cups flour (may need a little more)
1 T yeast
Directions
Combine the water, oil, honey, lemon juice and salt in a stand mixer. Next add 2 cups of the flour. Mix until well combined.
Allow the dough to rest in the mixer for about 30 minutes to an hour. (This will make a softer loaf and helps to hydrate the fresh flour.) Add yeast and the rest of your flour (apx 3 cups), 1/2 a cup at a time and watch how the dough reacts. You don’t want to add too much flour. Add just enough to where a soft dough forms and the dough begins to pull away from the sides of the bowl. (The longer it kneads, the more intact and moistened the dough will become).
Knead dough until smooth and elastic. This takes about 6-8 minutes with a mixer and 10+ minutes if you are kneading by hand.
For the first rise, move the dough to a large bowl and place somewhere warm. Allow the dough to rise until almost doubled in size. In a warm spot it will likely takes 30-45 minutes. If it is cooler it might take an hour or more.
Turn dough out onto clean greased counter and cut in half. Shape loaves and place into greased loaf pans and allow to rise until double in size again.
Once risen to the top of the pans, bake at 350* F. for 25-30 minutes until tops are golden brown and the bread is cooked through, about 190 degrees F.
Allow to sit about five minutes then remove the bread from the pans and place on cooling rack. Wait to pacage up until fully cooled.
How to store Kamut Bread
After the bread has fully cooled You can Store It with your preferred method of storage. Some common ways to store homemade bread are in a beeswax bread bag, plastic bag, or Bread Box.
Most homemade breads, whether sourdough or fresh milled whole grain, will stay fresh for up to 3 to 5 days, then it is recommended to transfer to a plastic bag and store in the fridge or freezer until later use. If freezing, be sure to label with the date!
I like to slice the bread and put it in a Ziploc bag into the freezer. Very handy for a quick breakfast, sandwiches, etc..
Things to make with older bread and bread scraps
Freshly Milled Kamut Bread
This basic recipe for easy Freshly Milled Kamut bread has a soft and tender crumb, a mild pleasant flavor, and is healthy for you!
Ingredients
- 1 ½ cups warm water
- ⅓ cup coconut oil (or oil of choice)
- ⅓ cup honey
- 2 tsp lemon juice
- 2 tsp sea salt
- 5 cups flour (may need a little more)
- 1 T yeast
Instructions
- Combine the water, oil, honey, lemon juice and salt in a stand mixer
- Next add 2 cups of the flour. Mix until well combined.
- Allow the dough to rest in the mixer for about 30 minutes to an hour. (This will make a softer loaf and helps to hydrate the fresh flour.
- Add yeast and the rest of your flour (apx 3 cups), 1/2 a cup at a time and watch how the dough reacts. You don’t want to add too much flour. Add just enough to where a soft dough forms and the dough begins to pull away from the sides of the bowl. (The longer it kneads, the more intact and moistened the dough will become).
- Knead dough until smooth and elastic. This takes about 6-8 minutes with a mixer and 10+ minutes if you are kneading by hand.
- For the first rise, move the dough to a large bowl and place somewhere warm. Allow the dough to rise until almost doubled in size. In a warm spot it will likely takes 30-45 minutes. If it is cooler it might take an hour or more.
- Turn dough out onto clean greased counter and cut in half. Shape loaves and place into greased loaf pans and allow to rise until double in size again.
- Once risen to the top of the pans, bake at 350* F. for 25-30 minutes until tops are golden brown and the bread is cooked through, about 190 degrees F.
- Allow to sit about five minutes then remove the bread from the pans and place on cooling rack. Wait to package up until fully cooled.
Notes
My favorite 8" loaf pans.
A little about me!
Hi! I’m Rebecca, wife and mother and I love homemaking and cooking on a daily basis.
Baking healthy desserts and cooking nutritious filled foods is a passion that I have and that is reflected in the recipes I post here!
Read more about me here.
Be sure to sign up to my emails for new recipe alerts, homemaking encouragement and to be notified of freebies and other fun things!
Happy baking!